I vividly remember the moment I realized my car’s interior was more dust and fingerprints than a vehicle I wanted to hand over. It was a stressful Saturday, rushing to prepare for my lease return, only to find that my usual car wash soap and cleaning routines just weren’t cutting it anymore. The gleam I once achieved with quick sprays and a microfiber cloth seemed elusive, and I knew I needed a real plan.
Why Preparing Your Car for Lease Return Can Be a Game-Changer
When it comes time to return a leased vehicle, the condition of the car can make or break your deposit refund. Auto dealerships and leasing companies are increasingly strict, and a well-detailed car isn’t just about appearances—it’s about ensuring you get every dollar back. But here’s the kicker: professional detailing services can be pricey, especially if you’re aiming for that showroom shine. That’s where DIY car detailing kits come into play. With a bit of knowledge and the right tools, you can deliver professional-quality results right in your driveway.
Is It Really Worth the Hype of DIY Kits?
A lot of skeptics worry that DIY kits won’t match up to professional standards. To be honest, I made that mistake early on—I bought a cheap kit, slapped a spray here, scrubbed a little there, and ended up with a mediocre finish. It’s crucial to invest in quality supplies and understand the essentials—like proper paint correction techniques and the right kind of ceramic coating. Trust me, the difference between a rushed job and a meticulous detail can be night and day.
Before you dive in, it’s good to remember that preparation makes all the difference. Failing to use proper paint correction pads or neglecting wheel cleaning can cause more harm than good. If you’re unsure, check out detailed guides on applying graphene coatings safely or maintaining high-end wheels with the right brushes.
Now, let’s explore what makes these DIY kits truly effective—and how they could save you hundreds at your next lease return. Are you ready to transform your car and avoid costly penalties? Let’s get started.
Start with a Thorough Exterior Wash
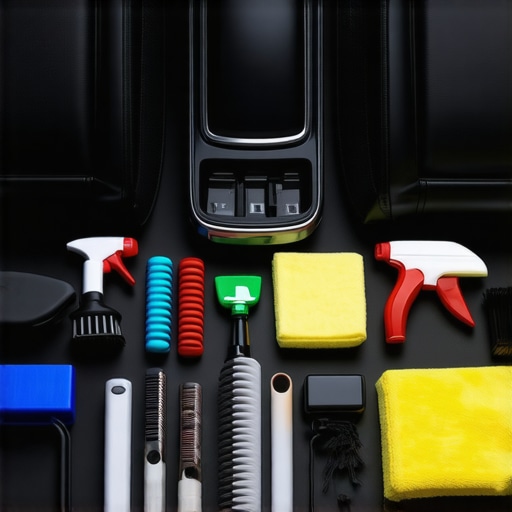
Imagine you’re preparing a dish—cleaning your car is the foundation. Begin by rinsing off loose dirt with a high-pressure hose, mimicking a chef rinsing fresh produce. Use a quality car wash soap, like the professional-grade car wash soap, diluted in a bucket. Wash in sections with a microfiber mitt, such as the microfiber mitts, switching to a clean one frequently to avoid scratching. Rinse thoroughly to prevent soap residue that can cause spots or damage.
Even among seasoned enthusiasts, there’s a surprising amount of misinformation about auto detailing products, especially when it comes to car wash soap and ceramic coatings. Many believe that cheaper products or generic brands can deliver professional results, but in my experience, quality and nuance are everything. One common myth is that all car wash soaps are created equal—while the economics might suggest so, the pH balance, surfactant formulation, and lubrication abilities vary significantly, affecting not just cleanliness but also paint health. A study published by Car Care Industries highlights that using a pH-neutral soap preserves wax and ceramic coatings longer, which is vital for do-it-yourself detailers aiming for lasting results.
Keeping Your Detailing Equipment in Peak Condition
To ensure consistent, professional results in your DIY car detailing projects, maintaining your tools is paramount. I’ve found that investing in high-quality rotary polishers like the Porter-Cable 7424XP has made a noticeable difference in both time savings and finish quality. These tools require regular checks; clean the pads, inspect for wear, and lubricate moving parts with a few drops of a specialized lubricant to prevent rust and ensure smooth operation. For example, I personally use professional-grade polishers designed explicitly for long-term durability. Don’t neglect your buffer pads either—clean them with a dedicated pad cleaner and replace them when worn to avoid an uneven application of products like ceramic coatings.
Tools That Transform Your Car Care Routine
One game-changer in my detailing arsenal has become the fiber optic LED lights. These provide incredible clarity, revealing flaws and contaminants on your paint that might otherwise go unnoticed. I prefer models that are portable and dimmable, such as the Sunplex LED series. They help identify swirls, scratches, or uneven ceramic coating layers, which are critical for quality results and long-term protection. Regular use of such tools ensures you maintain a high standard and catch issues early, saving time and money down the line. As trends point toward smart, app-controlled detailing gadgets, expect future tools to integrate diagnostics and real-time feedback to streamline your process even further.
How do I maintain my ceramic coating over time?
Maintaining your ceramic coating isn’t just about reapplying products; it requires a strategic approach. I recommend seasonal inspections with a dedicated ceramic coating maintenance spray to boost gloss and hydrophobicity. Also, investing in a high-quality dual-action polisher helps correct minor imperfections that can develop over months, ensuring the coating’s longevity. Incorporating quick-detailer sprays with nano-technology in your routine preserves the coating’s beading effect and prevents contamination buildup. As per industry standards outlined by professional detailers, regular maintenance extends the life of your ceramic layer, protecting your investment and keeping your vehicle looking freshly detailed for longer. Try applying a dedicated maintenance spray after every wash and watch how your ceramic coating responds to consistent care—long-term results become more manageable, and your vehicle’s appearance remains exceptional.Over time, I realized that mastering DIY car detailing is as much about patience and attention to detail as it is about the products you choose. Small tweaks—like pre-soaking wheel wells or using a drying aid after every wash—can significantly enhance your results. I learned that investing in quality tools, such as microfiber towels and proper polishers, truly pays off by delivering a finish that rivals professional work. Additionally, understanding the nuances of ceramic coating application and maintenance has been a game-changer, saving me money while prolonging that coveted showroom shine. Applying these insider tips consistently has transformed my approach, deepening my appreciation for the craft and empowering me to achieve lasting, professional-looking results in my own driveway.